

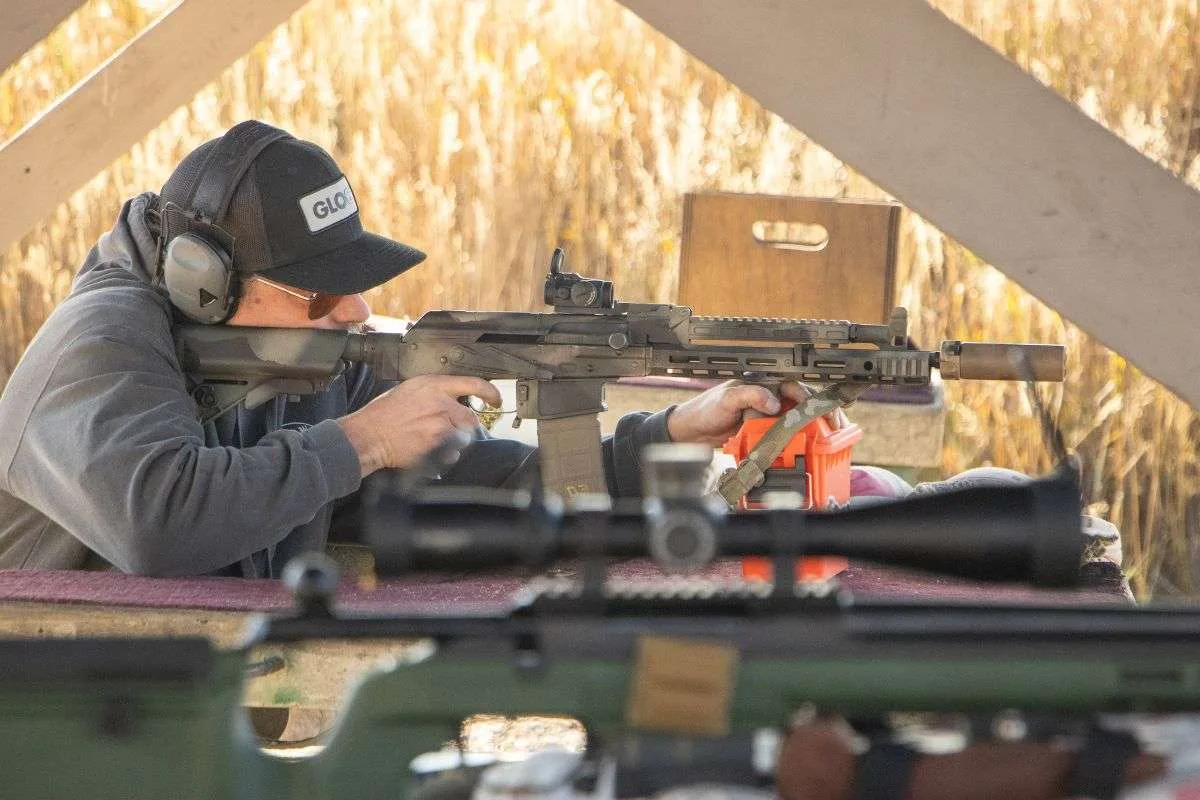
Look at any modern 3-Gun rig, PRS gas gun, or thoughtfully-built AR-15 and you’ll see the same thing: a magnified optic in the primary mount, plus a small red dot mounted at 45 degrees, on top, or piggy-backed on the scope. The idea is simple — magnification for the long shot, unmagnified red dot for anything close. This piece explains how it works, why it matters, and the three mounting styles you’ll see on the range.
Three Common Dual-Optic Setups

A great magnified scope is slow. A great red dot has no reach. Neither can do the whole job by itself. On a 3-Gun stage you might engage steel at 300 yards, then a hoser at 5, then a mover at 40 — all on the clock. On a hunting rifle you might glass a mule deer bedded at 400, then have him get up and trot into a draw at 60. In both cases the answer is the same: keep your primary optic on the rifle, and add a fast close-range solution.
The classic 3-Gun setup: your magnified scope stays where you like it, and a compact red dot bolts to a 45-degree offset mount so you cant the rifle 45° to your left (right-hand shooter) to use it. Roll of the wrist, you’re on the dot; roll back, you’re on the scope. Fast, robust, works with any scope.
Pros: the dot is completely independent of the scope, easy to see, and the offset mount usually stays zeroed even if you swap the primary optic. Cons: requires a canted rifle to use the dot, which some shooters find awkward at first.

A dedicated top-mount clamps to the scope tube or turret cap and holds a mini reflex (RMR, SRO, Holosun 507) directly above the scope. The natural head-lift of a rifle recoil brings your eye up onto the dot without moving off-shoulder. No canting required.
Pros: instinctive to use, no canting. Cons: the dot moves with the scope’s turret adjustments, so re-zeroing the primary means re-zeroing the dot. Higher over-bore height can be awkward on short cheek pieces.

The military M4 setup: an Aimpoint or Trijicon prism/red dot in the primary mount, plus a 3x or 5x magnifier on a flip-to-side mount right behind it. Flip the magnifier in when you need reach; flip it out for close-in speed. Great for a home-defense carbine that occasionally shoots at distance.
Pros: single sight picture for both close and far, magnifier stays aligned with the dot. Cons: magnifier adds weight behind the receiver and only stretches your effective range so far.

Riflescopes
LPVOs, precision, hunting
Red Dot Sights
Reflex & tube
Mounts & Rails
Offset, top-mount, flip
Semi-Auto Rifles
The perfect home for dual optics
Related: Firearm Optics Basic Guide • Bore Sighting Explained